Showing posts with label diy. Show all posts

Saturday, January 31, 2015

DIY :: kids leg warmers

I love leg warmers. And when I wanted plain ones (just grey or black. simple. casual. comfy.) for my newborn baby I couldn't find them. I knew they would be easy to sew out of fabric if I found the right kind, but I wanted to make it even easier for myself...because I have a newborn baby of course. Off to target I went and picked up some ladies knee high socks. A whole $2.50 per pair. For my one month old baby I cut the foot off and then cut up the back of the "tube" and in about 20 seconds sewed a skinnier/tinier pair for my babe.

BUT- if you don't have a newborn it gets even easier. Just cut off the foot. Done. Yep that's it. And how cute are these heart ones with valentine's day right around the corner. I just bought them on Friday too so you should still be able to snag some :) For $10 bucks you've got yourself 4 pairs. What are you waiting for....go make some!


They are perfect for dance too :)

These are the ones I cut open and sewed up the back to make them tiny...

Saturday, November 29, 2014

diy :: dream catcher mobile

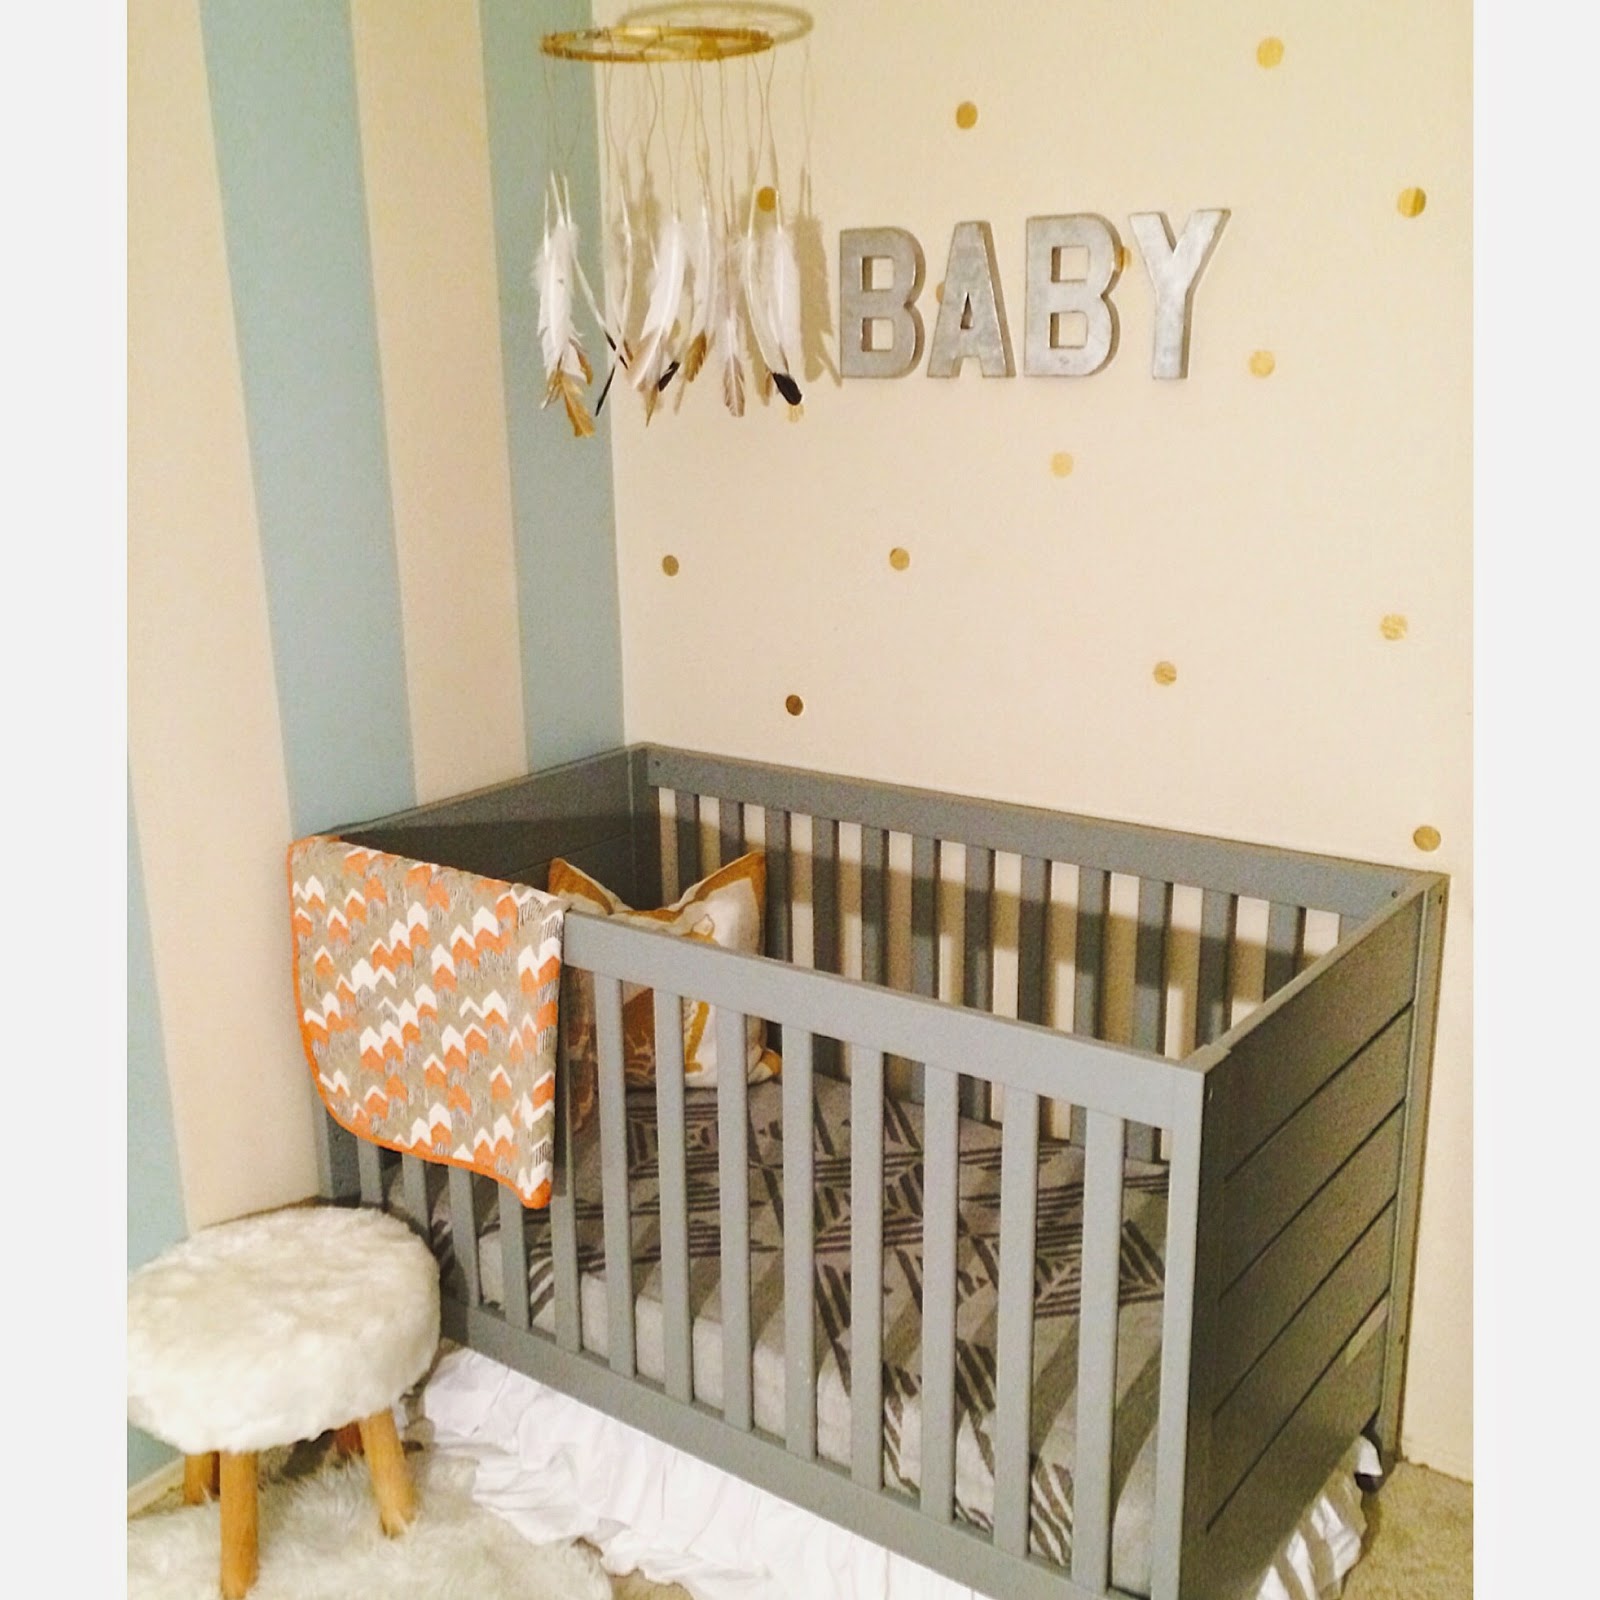
I have been wanting to hang something new and different above baby's crib for a while now but wasn't sure what. For Everly, I made a few tissue balls (which are simple and make a cute statement) but felt I wanted to change things up for baby #3. Since we don't know if peanut is a boy or girl it had to be somewhat gender neutral.  This past weekend I was at a craft fair and saw a gorgeous dream catcher and couldn't stop thinking about it. Unfortunately it was a bit too pricey for my tight nursery budget so I decided to make my own {simplified} version and in a mobile. This project took me about an hour and cost just under $15.

The materials:
- sponge brush or paint brush
- embroidery hoop (I used a 12" one) $2.99 at michaels regular price (40% off with coupon :)
- gold paint (69¢ at michaels)
- fake feathers
- gold ribbon/string
- fishing line
- clear tape

STEPS:

1. Paint the tips of your feathers gold. I used 13 feathers. 4 already had black tips when I bought them so I left them like that.

2.Paint your embroidery hoop gold. Let dry.
3.Tie your gold string from one end of the hoop to the other. Repeat until you get the desired look.


4. Cut and tie your string to the hoop. The length can be whatever you want.
5. Tape the tips of your feathers to the end of each hanging string
5. Take your fishing line, tie it to the hoop and then connect it in the middle to hang from your ceiling.

You are done!


Saturday, May 10, 2014

chalk talk :: diy on a dime

My son just turned 3 on Wednesday May 7th and next weekend we will be celebrating with a joint ice cream social party with his girlfriend Raelyn, born a week after him. He is an ice cream lover (like his mama), so this theme was perfect. Over the next week I will be posting some small diy projects that myself or my friend Diane have been working on.  And don't worry all will be quite cost effective, hence the subtitle -diy on a dime :)

We wanted a sign for the photo backdrop and loved the saying "I scream you scream we all scream for ice cream." Especially because we know a few kids may be screaming haha. Since I'm not great with free hand chalkboard lettering and because we don't want the kids to mess up the chalk when they hold the sign, I decided to work a little smarter and not harder. So yes- I just jumped on the computer and made it. Then for only $5.99 I printed it out as a 16x20 at costco and will frame it next. Here it is!


I also wanted to make a small one for the ice cream station and printed the below design in an 8x10 at home.


How to make any similar sign:
First you want to grab your background image. There are tons of free chalkboard backgrounds you can use. I found one from here.

Next is the fun part. You get to pick your fonts and then dream up any saying you want. If you don't have a lot downloaded you can get free ones at dafont.com. Here are the names of the ones I used written out so you can see what they look like. Super easy right?! If anyone would like the sign I made as a 16x20 for personal use just email me or you can use the files above to print an 8x10, Enjoy!


Tuesday, April 15, 2014

last minute easter gifts: DIY mugs

Who needs some last minute easter gifts?! I've been a bit obsessed with the diy ceramic mugs lately {thanks to pinterest of course}. And since I needed a few small easter fillers I decided to do some doodling last night. It's kind of like the adult version of coloring easter eggs :) These are the perfect little gift to give to maybe your mom, mother in law, sisters, girlfriends, yourself, whomever! All you need is a sharpie oil based paint pen (s), ceramic mug (s), rubbing alcohol and an oven. Oh and stencil is optional.

Now grab yourself your fav drink, turn some music on and begin crafting in this order:
1. wipe the rubbing alcohol on the side of the mug you want to decorate (to clean the surface). Dry completely. *And note that you want the design to be facing out when the mug is being sipped from.
2. draw or write whatever your heart desires with your paint pen. This does not have to be perfect. Just look at mine :)
3. place the finished mug in the oven and bake at 425 degrees for 30 minutes. Make sure to put the mug in the oven before it starts preheating. Once the 30 minutes is up leave the mug in the oven until it cools.

Now smile because you are done! Congratulations on completing a diy project. So simple right?!

A few more tips I have heard but not sure they are a must do:
-obviously hand-washing will probably make the life span of your art last longer
-the cheaper the mug the better, due to the inexpensive glaze used
-it's best to let your design sit for 24 hours before baking it

here are the ones I made last night ....


Saturday, October 12, 2013

Project Braeden's room :: week 2

I have been wanting some sort of shelving for B's room for a while now. So when thinking how to add some dimension/interest to his wall I started looking around the house for ideas. Then-- I remembered that I saved the old spice/storage cabinet from our original kitchen (we redid it last year)! I went through the garage to see what paint options I had to work with. My decision ended up coming down to anne sloan blue chalk paint or a can of black spray chalk paint. After a few minutes of thinking (as the clock was ticking) I chose the latter. And while the kiddos took their afternoon naps I sprayed the cabinet. Most of it got 2 coats, but I left the back of the shelf "ugly" looking as I have another plan for that :)

This project cost me $0! (Cabinet and paint I already had)

Oh and don't worry--it will look so much cuter when I am done with it and it is hanging in B's room....at least that's what I keep telling myself ;)


Friday, October 4, 2013

time for a redo :: project braeden's room

When I was pregnant with Braeden a couple years ago we were part of team green (yes those couple's who wished to not find out the sex of their baby). Without knowing the gender of our peanut and because I am a pretty plain and neutral person to begin with I kept the nursery very simple. I knew I could add pops of color and more masculine/feminine pieces once baby arrived. Well, two years and five months later the room is almost exactly the same (with the addition of a train table and crib converted into toddler bed). SO I have now decided to give myself one month to complete "Project Braeden's room." For the next month I will do one room project a week and do a post to share my progress. This is not going to be anything too extreme (I don't think :/), just fun and simple!

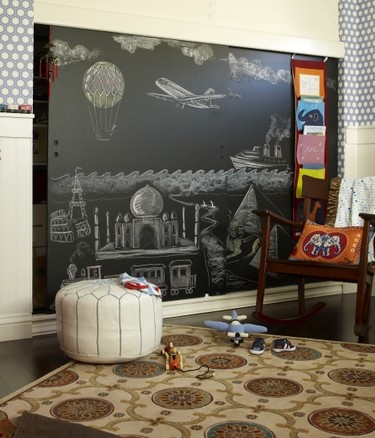
The other day I was playing around on the internet when I came across anti dust chalk. The chalk dust is what always held me back from doing a chalkboard wall, so once I saw this I knew a chalkboard wall was an immediate GO!

Yesterday morning I took the kiddos to home depot (7am) to pick up the chalkboard paint. The gentleman was incredibly sweet and for some crazy reason decided to charge me for "damaged" paint. So I got a steal- 2 cans for $6. I felt a little guilty to be honest :/ So this project cost me (with tax) just under $7. I already had drop cloths and paint rollers that the original owners had left in the garage cabinets when we moved in---score!

Here is the paint I used.


When we got home I put Everly down for a nap and I got to work. I did one coat, then took the kiddos to dog beach while it dried. I then very quickly did one more coat when we got home. While my paint job is not perfect, I am still extremely thrilled at how great it turned out. I cannot wait to test it out (suggested time frame to wait is 3-4 days after painting)!

Here it is right after my second coat was applied (still wet):


here is the wall today completely dried. Not perfect, but hey its only going to get drawn all over ;)


here is some of my inspiration, I hope b's wall looks half as cute as these do :)


via houzz

Friday, July 12, 2013

A DIY Summer :: Week 3 :: Dipped Horseshoe


I LOVE the dip-dye trend (even if it has been around for quite a while)! I have been wanting to do a project that gives this look ever since I saw a set of gorgeous dipped chairs in my HGTV magazine a couple months back (btw- LOVE this magazine). Last week I was online and scrolling through some rustic images when I came across a picture of a welded horseshoe heart. A lightbulb went off, I got super excited and knew I wanted to use a horseshoe for my dipped project.

All you need is a horseshoe, tape, and spray paint (I just used what I had, but these would look awesome in vibrant funky colors too) and your lucky dipped shoe will be ready to hang in no time!

Please note that you can actually dip your items in paint, or just get the look by spray painting or brush painting directly on your item like I did.

Again, no pictures needed.... you know what that means- easy peasy project :)

1. Clean off your horseshoe (I got mine from a garage sale for 50¢)

2. Spray the entire shoe with the color you will see the most of (silver for above pic). Let dry.

3. Decide how big of an area you want the "dipped" portion to be. With painters tape or masking tape, tape off everything but that area (gold area for pic above).

4. Spray the remaining exposed area. Let Dry. Remove tape.

Just like that- you are done! Now you can hang your stylish lucky shoe to protect and add good fortune to your home! Some say that to keep the good luck in, you must hang your horseshoe upside down-- where others say a horseshoe adds good luck no matter which way it hangs- so you decide!

Wouldn't these also make awesome bridal shower or wedding favors too?-- oh the possibilities!


Of course I couldn't stop there- so I brought out some wooden utensils this morning and gave them a fresh look and added charm :) This literally took two minutes...just put a piece of tape where you want your paint to stop, paint, and you're done!


My son loved playing (hitting things) with them after too :)

Friday, July 5, 2013

A DIY Summer :: Week 2 :: headband holder


This week's tutorial is a headband holder out of an oatmeal container. So if you made last week's project- then this one will be a perfect display for it! I first fell in love with this headband holder concept at my friend's baby shower almost a year ago. I had no idea what it was made out of, but was instantly drawn to how adorable it was. When I found out it was an empty oatmeal container I was double in love! I eat oatmeal every other morning for breakfast so there is no shortage of containers in this home :) Since I have a baby girl, headbands are an accessory necessity for me. This craft cost me under $5 and took about 5 minutes to make. Not only can you place headbands around the outside- but the inside is also great storage for hair clips, bows, etc.
Please note that there are definitely fancier ways of making this, I just chose the quick and less expensive route ;)

Materials:
-scrapbook paper
-candle holder (got mine at michaels & used a coupon of course)
-empty oatmeal container
-tape
-scissors

1. Cover your container with your scrapbook paper (lining up your edge with the top) and tape it into place on the side

2. Take the excess paper hanging off the bottom and fold it under the container. Tape in place (this can be messy since you won't see it).

3. Hot glue gun the base of the container to the candle holder (or leave unattached- your choice)

That's it- you are done! Too simple right? Now go decorate it with pretty headbands and make another for a friend :) Enjoy and see you next week!


Sunday, June 30, 2013

A DIY Summer :: Week 1 :: baby headband out of tights

What kicked off your summer this year? School getting out? Summer hours? In this house we know summer has officially began when my husband starts going to work tieless. Yep- that's his casual summer attire- offered for 3 months a year at his office, where the men don't have to where a tie. I know pretty crazy right. I thought it would be fun to introduce a new DIY project each week this {tieless} summer. And don't worry, this thrifty mama keeps everything pretty simple and inexpensive. So please try a couple projects or all of them if you wish- enjoy!


This week's tutorial is a baby girl (or adult) headband out of a pair of tights. I love projects that use items I already have, and this one did just that! Plus it takes only a couple minutes- awesome right? If you don't have a pair of baby tights run to wal-mart and grab a pair (or a couple) for $1 each :) The ones I am using for my 6 month old baby are size 0-6 months. So- if you are making this headband for yourself, I would buy the next size up. I'm not showing step by step pictures, as this is so easy it's not needed!

1. Lay your tights flat on the table horizontally and make a straight cut approx. 1" above the crotch area where the legs connect

2. Holding the tights stretched out (foot in each hand) wrap the part you just cut around the back of baby's head and bring the feet to her forehead

4. Tie in a square/double knot and arrange the feet so they make a bow

5. Tuck/wrap the waist area where you originally cut if any of it is sticking out in the back

Yep- that's it- you are done! Now go make a few more super cute and comfy headbands :)


Friday, March 29, 2013

a very special someone's birthday :: my hubby

Yesterday was my husband's birthday and trust me, we both can't believe he turned the big thirty + one! I remember when I was younger thinking that people in their thirties were so old, wow has my perception changed. I know my husband is obsessed with our little ones as much as I am so I just had to do a birthday pic for him while he was at work. As I do a lot, I just took a pic and then added text afterwards. And I think it turned out perfect!

A while back I had seen a beer cake on pinterest and I knew this would be the best dessert for my husband on his birthday. So I loaded up the kids and off to the grocery store we went to buy a 30 pack during the day. This was a first for me, I have never bought beer with my two kiddos and honestly did feel a bit weird. The lady at the cash register starred at my id for a while (as I look super young) and then proceeded to tell me "honey you better keep that out because they may stop you as you are leaving." So I'm thinking....really, someone would think I am trying to steal beer midday with a toddler and a 30 pack in the cart and a baby on my hip? Does that really happen? Then I looked at my outfit and lack of togetherness and decided, I guess anything is possible and I do look a bit suspect....

My husband came home and loved his gifts. We fed the kiddos, put them to sleep, and then had my wonderful sister-in-law come over so we could end the day having dinner and drinks at the RB Inn.


Friday, February 1, 2013

fresh fabric

I am so excited! I just took a quick road trip (with the kiddos) to a store I love, hobby lobby, and picked up some awesome fabric. The fresh colors and fun patterns of these finds put a smile on my face. You may be wondering what I am going to be doing with them...well the plan is to make pillows and camera strap covers. I have a charity fundraiser coming up in a couple weeks where I will be selling my homemade goods and donating 20% back to Cystic Fibrosos. So I need to get busy and get my inventory up. Check back soon to see the finished products...I know I can't wait ;)